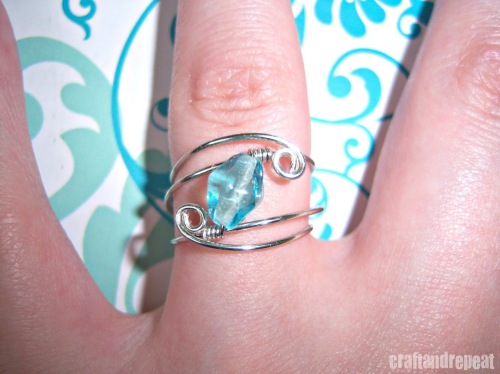
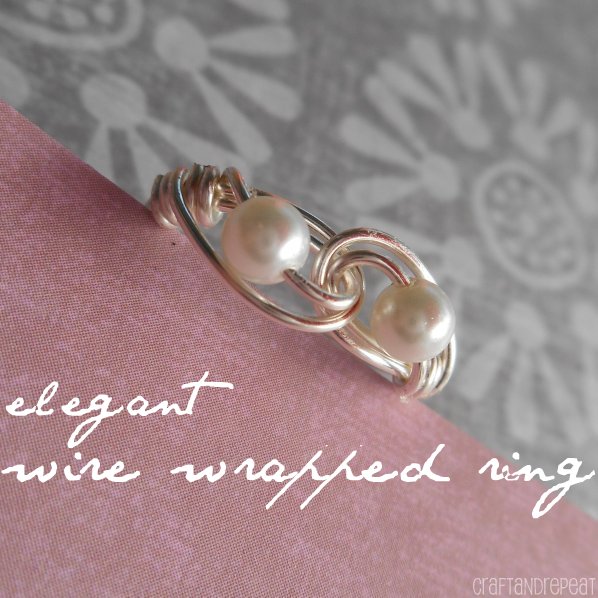
How would you like to make this fun little ring? It’s really not that hard. You just need a few basic wire wrapping supplies, and a little bit of patience. The picture above was a custom order that has sold. So the tutorial pictures will have a different center bead.
The Supplies

1. A set of basic jewelry pliers – flat or needle nose (blue handles), round nose (purple handles), and side cutters (pink handles)
2. 24 gauge round jewelry or craft wire any color
3. 20 gauge round jewelry or craft wire any color
4. 1 or more beads of your choice with a minimum of a 24 gauge opening
5. a ring mandrel
Tips Before We Get Started
1. Know your ring size. You can find out by taking a ring that already fits you and sliding it on the mandrel to find its size. Or wrap a piece of string or ribbon around your finger – not too tight – and cut it where it meets the end. Now wrap the string around the mandrel to find your size.
2. There are many brands of craft wire out there. Pick one whose price matches your skill level – especially if you’re a beginner. When you first start wire wrapping, you’ll end up scrapping a lot of wire through trial and error. So don’t buy the 14k gold plated wire if you’re a beginner! My favorite brand is Artistic Wire.
3. Choose a bead that will lay comfortably on your finger. Don’t pick a large bead. This will force the ring up to or on your knuckle. You don’t have to limit it to one bead. Pick 2 or 3 smaller beads that complement one another.
4. The pliers in the picture are basic, inexpensive tools. They work great for the occasional use, but long term they don’t hold up. They are very inexpensive, and the color coded handles really do help. I recommend professional pliers for ones that will see a lot of love!
5. If you’re a beginner, you may want to wear safety goggles.
Go here to find out how you can save on your jewelry making supplies.
Let’s get started!!
(click on pictures to make them larger)

Start with your 20 gauge wire. Unwrap it from the spool by pulling it straight out. Don’t pull it over the top so it comes off like a spring. It’s easier to kink your wire if you do.
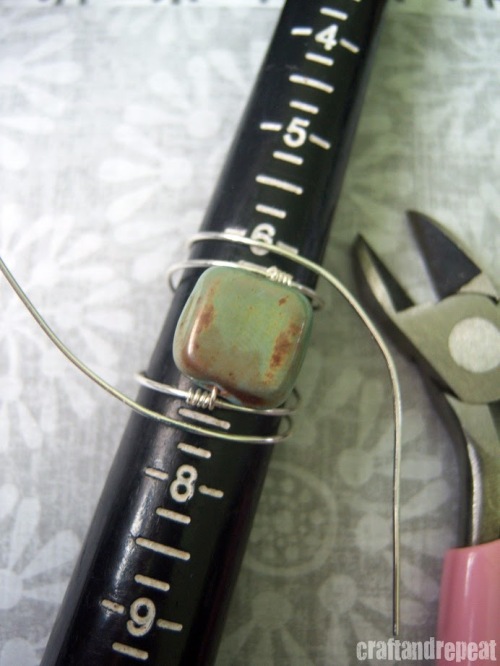
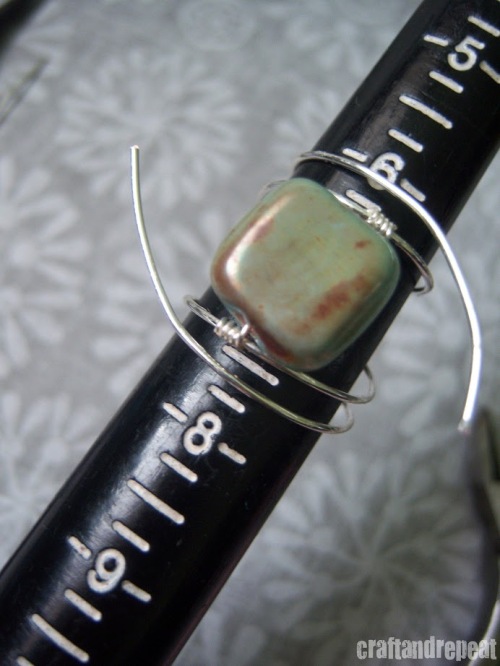
Find your ring size on the mandrel. Leave a tail of a couple of inches, and start wrapping the wire around the mandrel. Refer to the picture. The wire should pass over the top of the mandrel four times. The middle two wraps should hug your ring size. In the case of this picture, I am a size 7.
Leave a tail going in the opposite direction of the first one. Using your side cutters, cut it at a few inches.

Carefully slide it off the mandrel.
Cut a piece of 24 gauge wire at least 5 inches long – more for error. Start wrapping it around the second loop of your ring, off-center to the right. Start this by placing the wire behind the loop so that only a few inches are above the loop. Then bend it forward over the loop. Use your long nose pliers to help you wrap the short end around to the right. Always grab your wire at the end – like shown in the picture. If you grab it close to where you’re wrapping you will weaken the wire, and it may break. Wrap a minimum of four times.
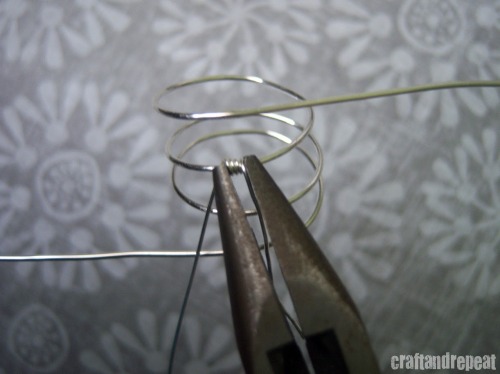
If your wrapped loops of the 24 gauge wire don’t seem to want to fall in place, use your long nose pliers to gently squeeze each loop together as you wrap them.

Once you have a minimum of 4 wrapped loops, use your side cutters to clip the excess wire. Make sure the cutting side of the pliers is flush with the ring to ensure the closest cut. Cut it on the top or side, not the bottom – you don’t want any sharp edges poking your finger when you’re wearing the ring! As you’re cutting with one hand, grab the piece to be cut with your other hand or the long nose pliers. This will keep flying metal from hitting your eye (ouch!) or landing somewhere never to be found again (except by a sneaky kid or pet – danger)!!! And this is why I suggested that beginners use safety goggles :). Use the needle nose pliers to squish down the sharp, newly cut end.

All that futzing with your ring and it’s starting to look wonky?? No problem. Stick it back on the mandrel, and pull on the two tails to get in back in its ring form. Easy peasy! Do this as often as you need to throughout the project.

Now string on your bead(s). Put the ring on your finger or mandrel to figure out where to start wrapping on the other side. You may need to gently push apart the two inner loops to make room for the bead. DON’T push out the end loops. Start wrapping the 24 gauge wire just like you did on the other side of the bead. Use the needle nose pliers to help you, cut it with the side cutters, and squish in the cut side.
It’s starting to look like a ring, and you’re almost done!!
Take the tails, and using counter pressure with your thumb, gently curve them until it looks something like the picture.
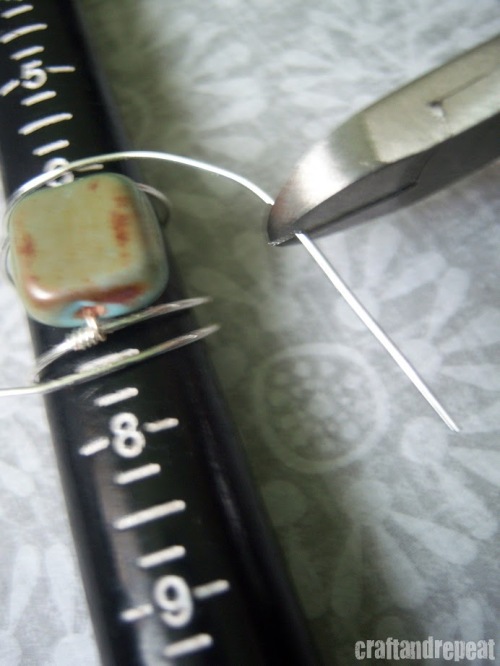
Using the side cutters, cut the tails so they are at least long enough to be in line with the other side of the bead, while still in a curved position. Watch out for flying wire!! You may cut them longer if you want bigger swirls on your ring.

If you’re not familiar with using a round nose pliers, I suggest you practice this next step with a small piece of 20 gauge wire.
A couple things to know:
– The size of your twist/curl/swirl/loop depends on where you clamp your wire in the round nose pliers since it has graduated arms. If you go closer to the tip, you will get smaller loops. If you go closer to the handles, you will get larger loops.
– To ensure a perfectly round loop, always place your wire flush to the pliers. You should be able to rub your finger on top of the closed arms and not feel the wire poking out.
– Before you twist your wire, twist your hand as much as you can either away from or toward you. Away from you if you want to make your loop toward you and vise versa. If you start with your hand inline with your arm, you won’t have enough range to make a full loop.
Ok, now practice, and I’ll meet you at the next step!

Now that you’re a pro with a round nose pliers, let’s finish the ring. Yay! Make loops on both tails of your ring using the skills you learned in the previous step. They should curl toward the bead(s). Refer to the first picture.

It should look something like this. We are going to curl in those loops.

Take your needle nose pliers, and gently grab your loop as shown above. Now turn it in towards itself. Regrip as much as you need. Just be gentle to avoid tool marks.
Put it back on your mandrel to round it out in case you squished it making your awesome curls.
Hey, guess what?! You’re done! Now show it off….


My bead happens to look good flipped up or down.
Let me see your rings! Comment below with a link to your picture.
Remember, if you post about this project, please be sure to give me credit and link back to me or grab a button from the sidebar. Thanks!


