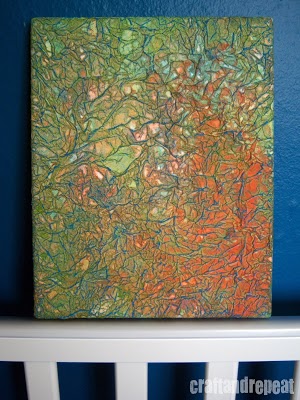
A colorful textured canvas that is easy to make!
It even has a recycled element!
The Supplies
1. canvas
2. tissue paper
3. Mod Podge (or similar)
4. acrylic paint
5. oil pastel (or a very waxy crayon)
6. water
7. sponge brushes
8. scissors
The Directions
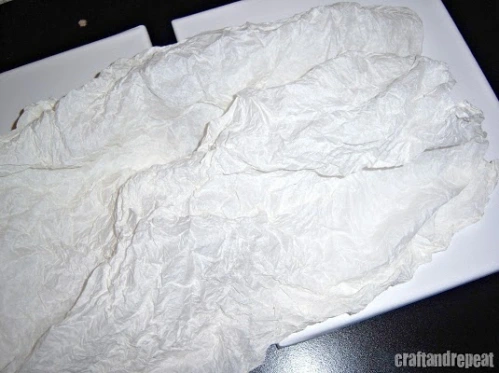
Start by taking an old piece of gift wrapping tissue paper. It should be larger than your canvas size. This is a great way to recycle tissue paper that’s been used a few too many times. Scrunch it up. Open it up. Repeat, repeat, repeat! The more ridges and crinkles you have, the better!
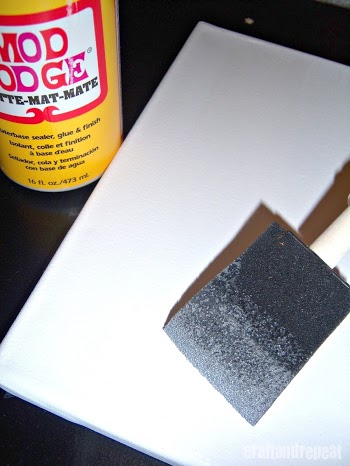
Put a thin layer of Mod Podge on your canvas using a sponge brush that has been dipped in water. (Sorry for the quality of some of these pictures. This was late night with bad lighting.)
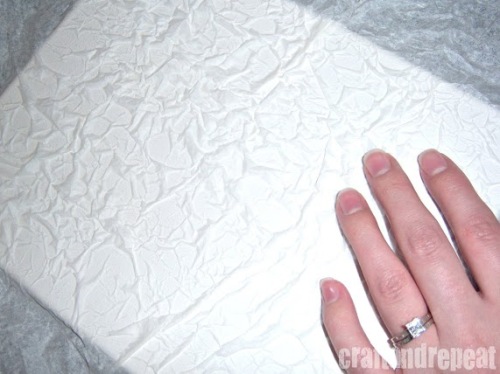
Gently place your tissue paper on top of the Mod Podge. Make sure there is tissue hanging off all four sides. Don’t smooth it down. The idea here is to keep all those ridges and creases you made. If you want it less textured in places, gently pat it down.
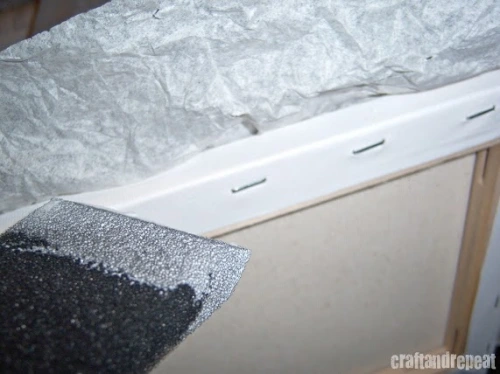
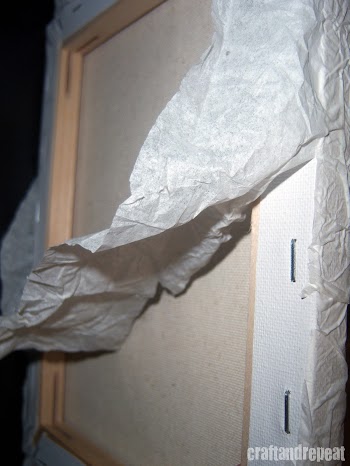
Glue down the tissue to sides of your canvas using the same technique in the previous steps. Do NOT place your canvas on its front while you’re doing this. You’ll flatten out your creases. Gently fold the corners down, and glue them in place. Don’t pull too tight, or the tissue paper might rip. They don’t have to look perfect. Random creases are what we’re going for here!
Without getting too close to the edge, cut away the excess tissue paper. Now glue the cut edges down and around the back so that the cut edge isn’t visible from the side.
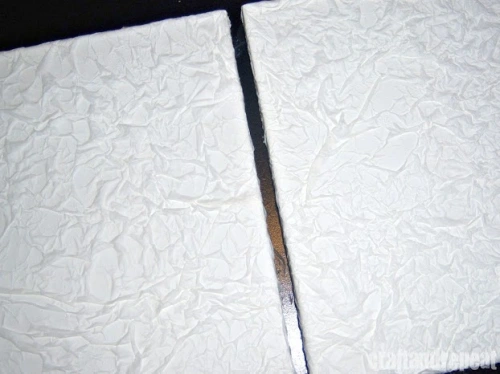
Balance your canvas on top of something – like the top of the Mod Podge bottle – to let all the sides dry. As you can see, I made two at the same time. I have a very specific home in mind for these two, but I have to get some other fun projects done first 🙂
Once your canvas is dry (or mostly dry) water down your first paint color. You want it kind of runny. Use the sponge brush to dab on the color. Don’t actually paint it on, because the tissue paper gets wet during this part and will easily tear. You can dip your sponge brush that already has watered down paint on it into some clean water and dab with that to create different effects with each color.
Now, you’ll have to make a decision for this next part: Let it dry? Or don’t let it dry, before adding the next color? I decided not to wait. I don’t have that kind of patience. Plus, I liked the idea of my colors running into each other. This is why you should only use 2 or 3 colors. Otherwise, you’re going to end up with a brown mess! Whichever way you choose, dab on the next colors just like the first. You don’t have to fill the whole canvas with all the colors. Get creative!
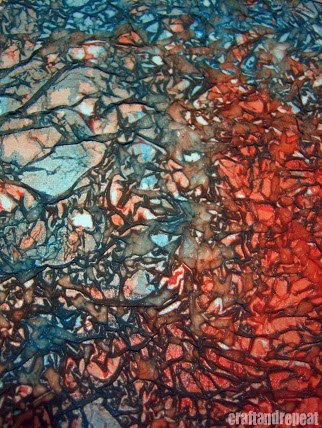
Here’s how mine looked after the second and third color with the paint still wet. Let your canvas thoroughly dry before moving on – like overnight. Bleh, I know, waiting is no fun when you want instant gratification, but it’s worth it!
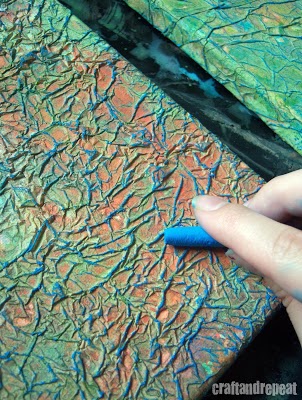
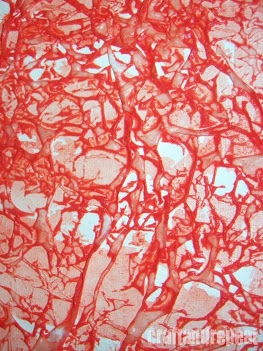
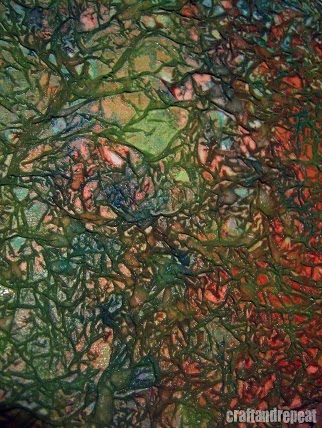
Now that your canvas is nice and dry and crunchy to the touch, pick out your pastel color. You should use a version of a color that is already in the painting, or something that will provide a lot of contrast. Either way, you’ll show off all those pretty colors. How? With the pastel on its side, gently and slowly rub across the painting. The point is to highlight all those ridges, bumps, and bubbles. Don’t push too hard, or you’ll start coloring in the area between the ridges.
There’s no right or wrong here. You could take your time and color every little crease, or just get the big obvious ones. Don’t forget to do the edges of the canvas, too! If your pastel left some crumbly looking stuff on your painting, just blow it off. You could probably do this step with a really waxy crayon, too.
Ok, now look at it. Are you happy with it? Good, cause you’re done! Yay, now you can call yourself an artist!
Ok, so you’re ALMOST done. You have the option of sealing it, which would probably be a good idea because of the oil pastels.
Alright, let’s see those paintings! Comment below with a link to your picture.
Remember, if you post about this project, please be sure to give me credit and link back to me or grab a button from the sidebar. Thanks!



I will try this in a few months. I will be coming back. Thank you, it looks soooo good!!
That’s so neat! I’ve noted this down for when I move into the new place–the walls will need decorating with my canvas paintings, of course!
Awesome textured wall art.
Lori @ A Bright and Beautiful Life
http://www.abrightandbeautifullife.com
Thanks!
Wow…that’s really cool!
Pingback: Featuring: M! Edition #1 | craftandrepeat
Pingback: DIY Sticker Stenciled Wall Art – Stickers from Oriental Trading Company | craftandrepeat
I LOVE this! I’ve been getting into the acrylic paints lately. THis looks like a lot of fun!! I’m linking to your party for the first time! Thanks for hosting!
Gina
http://ginascraftcorner.blogspot.com
I love this idea! Would be pretty to start out with a colored tissue paper too. Going to try making one this week.
this is awesome , thanks for sharing , can’t wait to try it 🙂